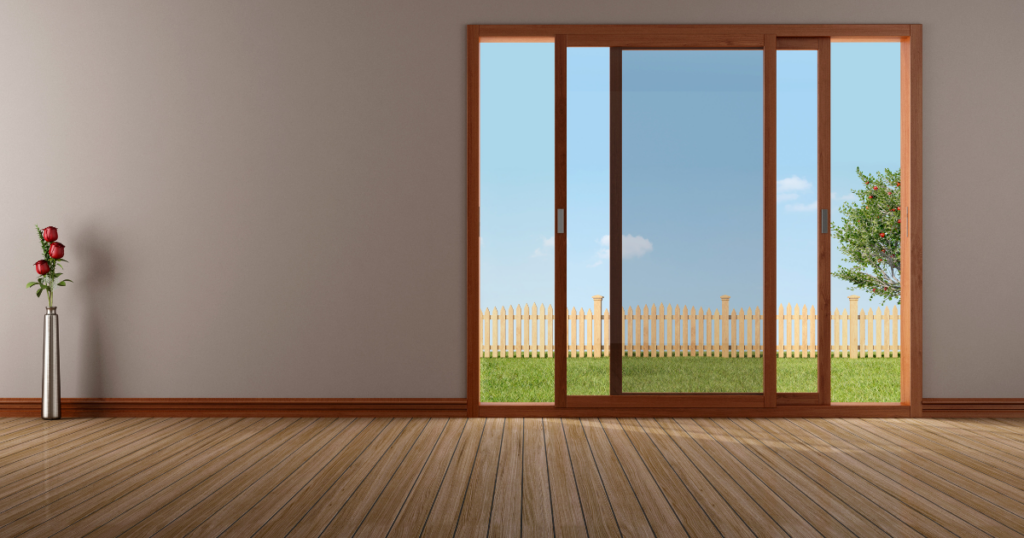
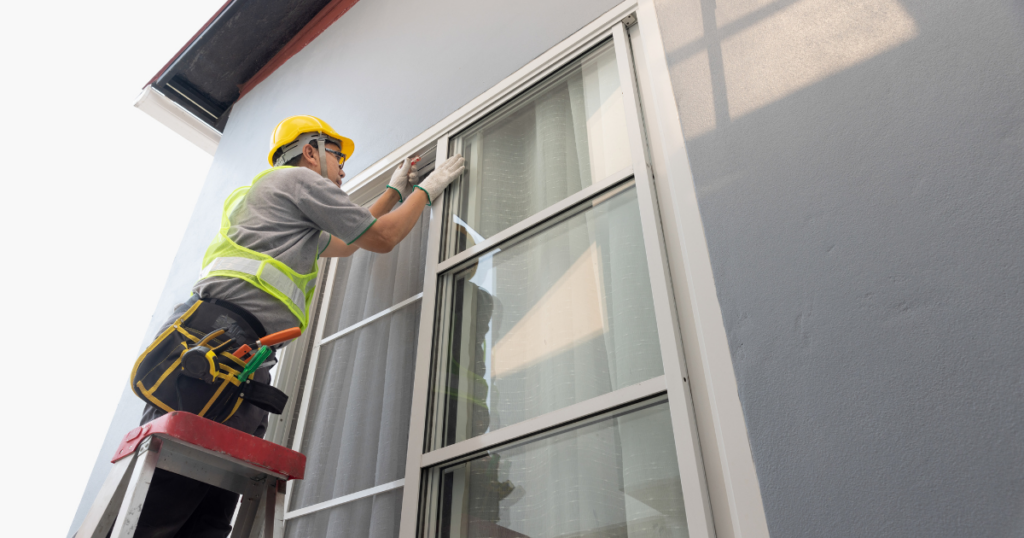
Sliding windows are a popular choice for homeowners due to their sleek design, ease of operation, and ability to provide ample natural light and ventilation. These windows consist of one or more panels that slide horizontally along a track, offering a practical solution for many spaces.
However, like any house component, slider windows may eventually require replacement due to wear and tear, damage, or the desire for improved energy efficiency.
This comprehensive guide will walk you through the sliding window replacement process, addressing common concerns and providing detailed steps for a successful installation.
What is a Sliding Window?
A sliding window, also known as a gliding window, features one or more sashes that move horizontally on tracks. Typically, these windows have two sections made of glass, one fixed and one mobile, that allow for easy opening and closing.
Their design maximizes the view outside, optimizes airflow, and requires minimal maintenance, making them ideal for modern homes. When these windows become worn or damaged, a sliding window replacement is often necessary to restore their functionality and aesthetic appeal.
Why Replace a Sliding Window?
Sliding window replacement becomes necessary for several reasons:
1. Energy Efficiency: Older windows may have poor insulation, increasing energy costs. Replacing them with modern, energy-efficient models can help reduce heating and cooling expenses.
2. Damage and Wear: Over time, sliding windows can develop issues such as broken seals, cracked glass, or damaged tracks. These problems can compromise the window’s functionality and security.
3. Aesthetic Improvement: New windows can enhance the appearance of a home, adding to its curb appeal and potentially increasing its value.
4. Improved Security: Modern sliding windows have advanced locking mechanisms that enhance home security.
5. Enhanced Ventilation: Replacing old windows with new sliding windows can improve the flow of fresh air into the home, contributing to a healthier living environment.

Comparing Sliding Windows with Other Types
While sliding windows are a popular choice, other window types like double hung windows and pass through windows also offer unique benefits:
- Double Hung Window: These windows feature two vertically sliding sashes, allowing for ventilation from both the top and bottom. They are easy to clean and provide excellent airflow.
- Pass Through Window: Often installed between indoor and outdoor kitchens or patios, pass through windows can slide or swing open, creating a convenient serving space and enhancing indoor-outdoor living.
Sliding windows, however, could be the better choice for homeowners due to their simplicity, ease of use, and modern aesthetic. They provide unobstructed views and are ideal for areas with limited space since they do not protrude inward or outward.
Can You Replace Just the Sliding Part of a Window?
In some cases, it is possible to replace just the sliding part of the window if the frame and fixed panel are still in good condition. This option can be more cost-effective and quicker than replacing the entire window.
However, if the frame or other components are damaged, it is usually best to replace the entire unit to ensure optimal performance and longevity.
How Long Does It Take to Replace a Sliding Window?
Replacing a sliding window generally takes between 2 to 4 hours. This includes about 30 to 60 minutes for removing the old window and preparing the opening, followed by 30 minutes to 2 hours for installing the new window and ensuring it fits properly. Additional time may be needed for insulation, caulking, and final adjustments to ensure the window operates smoothly.
However, the exact time can vary depending on factors such as the condition of the existing window and the installer’s experience. For instance, a straightforward replacement might take only 1-2 hours, while more complex installations could take half a day.

Step-by-Step Process for Sliding Window Replacement
1. Preparation and Planning
- Assess the Window: Evaluate the condition of the existing sliding window to determine if a full replacement is necessary.
- Measure the Opening: Accurately measure the width and height of the window opening to ensure the new window fits properly.
- Select the Replacement Window: Choose a replacement window that matches the size and style of the existing one. Consider energy-efficient models for long-term savings.
2. Gathering Tools and Materials
- Essential tools: screwdriver, pry bar, utility knife, tape measure, level, caulk gun, and hammer.
- Materials: replacement window, shims, insulation, caulk, screws, and trim.
3. Removing the Old Window
- Remove the Sliding Sash: Lift or tilt the sliding sash to remove it from the frame.
- Take Out the Fixed Panel: Remove any screws or clips holding the fixed panel in place, then carefully lift it out.
- Detach the Frame: Use a screwdriver and pry bar to remove the screws and nails securing the window frame to the wall.
4. Preparing the Opening
- Clean the Opening: Remove any debris, old caulk, or insulation from the window opening.
- Inspect for Damage: Check for any signs of damage or rot around the opening and repair as necessary.
- Install Flashing Tape: Apply flashing tape around the edges of the opening to create a watertight seal.
5. Installing the New Window
- Position the New Frame: Place the new window frame into the opening and use shims to ensure it is level and plumb.
- Secure the Frame: Attach the frame to the wall using screws, ensuring it is firmly in place.
- Insert the Fixed Panel: Install the fixed panel into the frame and secure it with clips or screws.
- Install the Sliding Sash: Place the sliding sash onto the track and ensure it moves smoothly.
6. Sealing and Insulating
- Apply Insulation: Fill any gaps around the window frame with insulation to prevent drafts.
- Caulk the Edges: Apply a bead of caulk around the exterior edges of the window to seal any gaps and prevent water infiltration.
7. Finishing Touches
- Install Trim: Attach interior and exterior trim around the window to cover any gaps and provide a finished look.
- Clean the Window: Remove any debris, fingerprints, or smudges from the glass and frame.
Time to Replace Your Old Windows!
Sliding window replacement is a worthwhile investment that can enhance the energy efficiency, security, and aesthetics of a home. Whether opting to replace just the sliding part or the entire window, it is essential to choose quality materials and, when necessary, seek professional assistance to achieve the best results.
If you’re in Phoenix, AZ, or the surrounding areas and considering a sliding window replacement, look no further than AZ Valley Windows. Our expert team is dedicated to providing top-quality service and ensuring your home improvement project is completed to the highest standards.
Contact us today to discuss your window replacement needs and explore the best options for your home.


